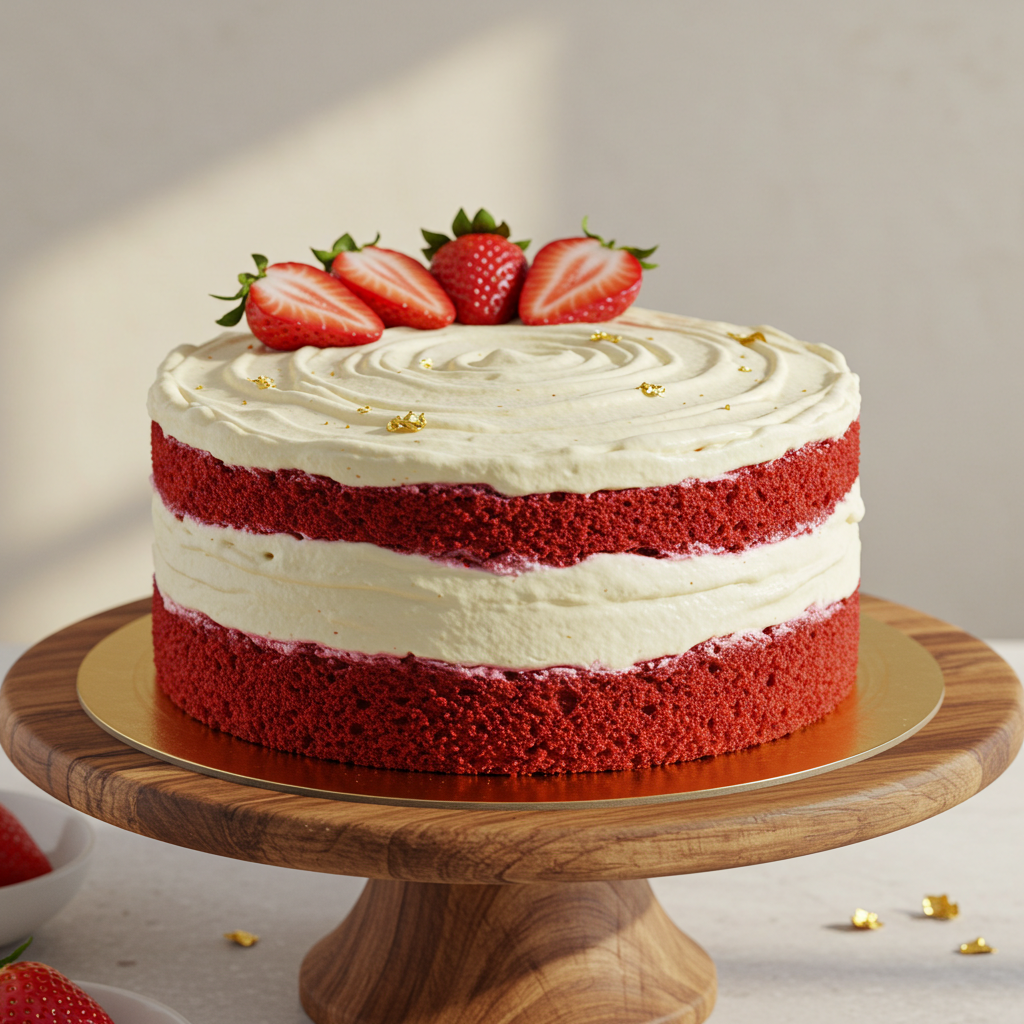
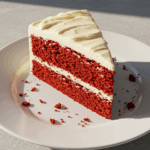
Bake a Perfect, Delicious Redvelvet Cake
Got a craving for a show-stopping dessert? This red velvet cake recipe? It’s got you covered. Think moist, tender layers slathered in tangy cream cheese frosting. Seriously, it’s irresistible. Forget those sad, dry store-bought cakes. Making this at home is way easier than you think!
Why Choose a Homemade Red Velvet Cake?
Nothing beats the taste of a homemade cake, right? And red velvet is no exception. When you bake it yourself, you’re in control. You get fresh, flavorful goodness without any of those mystery ingredients. Plus, let’s be honest, there’s a certain pride in whipping up something this delicious from scratch.
That vibrant red color and that unique flavor? Red velvet screams “celebration.” Birthdays, holidays, random Tuesdays… it’s always a hit. Once you master this classic, you’ll have a guaranteed crowd-pleaser in your baking arsenal.
Essential Ingredients for Your Red Velvet Cake
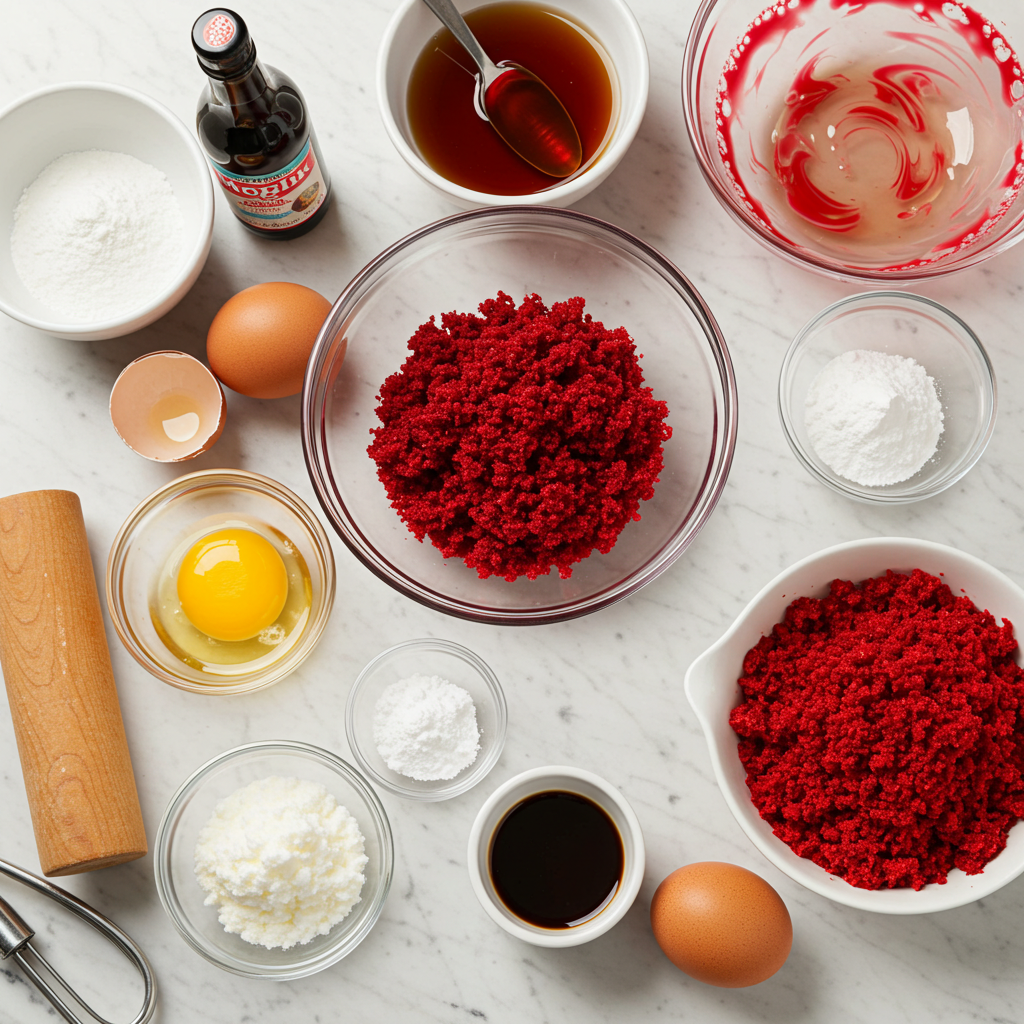
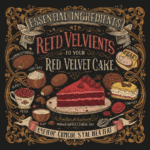
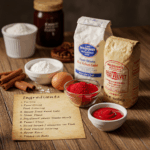
Alright, gather ’round, bakers. Here’s the grocery list for cake perfection:
- All-purpose flour: The foundation of our cake.
- Cocoa powder: A hint of chocolate and helps get that lovely red hue.
- Baking soda & baking powder: Our rising agents, giving us that fluffy texture.
- Salt: Enhances all those other amazing flavors.
- Sugar: Sweetness and moisture, the dynamic duo.
- Vegetable oil: Keeps things moist and delicious.
- Eggs: Binds everything together, adds richness.
- Buttermilk: Tanginess and tenderizes the cake. Don’t skip this!
- Red food coloring: Let’s be real, this is what makes it “red” velvet.
- Vanilla extract: A little flavor boost.
- White vinegar: This reacts with the baking soda for extra lift and fluff.
And now for the cream cheese frosting, because, duh:
- Cream cheese: The star! Tangy, creamy… everything you want.
- Butter: Richness and that smooth, spreadable texture.
- Powdered sugar: Sweetness and thickening power.
- Vanilla extract: Just a touch.
The Secret Weapons: Buttermilk and Vinegar
Okay, let’s talk about buttermilk and vinegar. These aren’t just random ingredients; they’re key to red velvet magic. The buttermilk gives that subtle tang and softens the flour, leading to a super moist cake. And the vinegar? It reacts with the baking soda, creating those magical air bubbles that make the cake light and fluffy. It’s science, but it tastes delicious.
Step-by-Step: Baking Your Delicious Redvelvet Cake
Ready to get baking? Follow these steps closely, and you’ll be showing off your masterpiece in no time:
- Preheat that oven to 350°F (175°C). Grease and flour two 9-inch round cake pans. Trust me, you don’t want your cake sticking.
- In a big bowl, whisk together the flour, cocoa powder, baking soda, baking powder, and salt. Get it all nice and mixed.
- In a separate bowl, cream together the sugar, oil, eggs, and vanilla extract. Beat it good!
- In a small bowl, whisk the buttermilk, red food coloring, and vinegar. This is where the magic starts to happen.
- Slowly add the wet stuff to the dry stuff, alternating with the buttermilk mixture. Start and end with the dry ingredients. Mix until just combined. Overmixing is the enemy!
- Pour the batter evenly into those prepared cake pans.
- Bake for 25-30 minutes. Stick a toothpick in the center. If it comes out clean, you’re golden.
- Let the cakes cool in the pans for 10 minutes, then flip them onto a wire rack to cool completely. Seriously, completely. Patience!
Crafting the Perfect Cream Cheese Frosting
While those cakes are cooling (remember, patience!), let’s get that frosting ready:
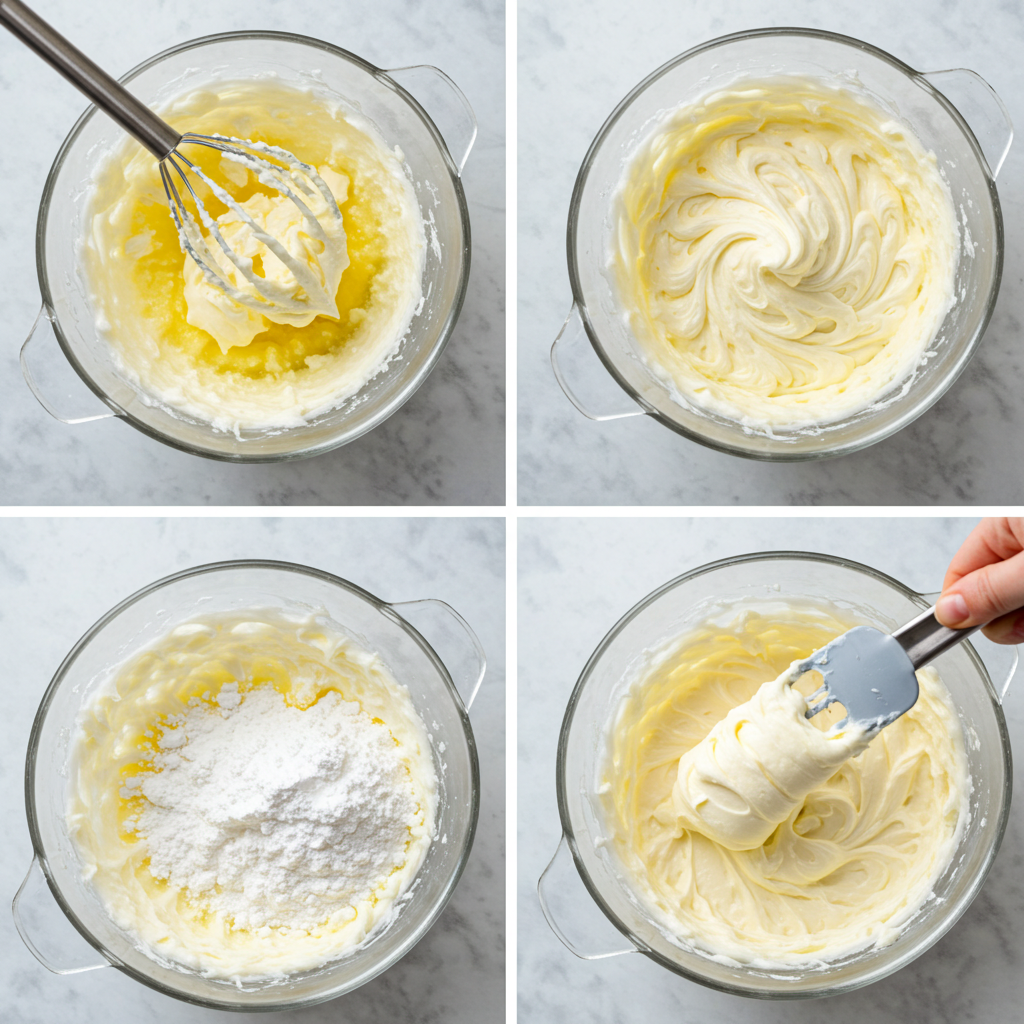
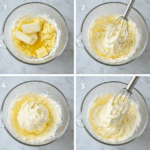
- In a large bowl, beat the cream cheese and butter until smooth and dreamy.
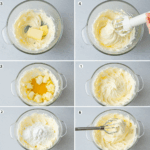
- Gradually add the powdered sugar, beating until it’s all combined.
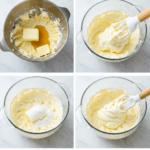
- Stir in the vanilla extract. Simple, right?
Tips for a Smooth Cream Cheese Frosting
Lumpy frosting? No thank you. The secret? Make sure your cream cheese and butter are soft. Like, really soft. Beat them together for a good few minutes until they’re light and fluffy. Too thick? Add a splash of milk. Too thin? More powdered sugar. You got this.
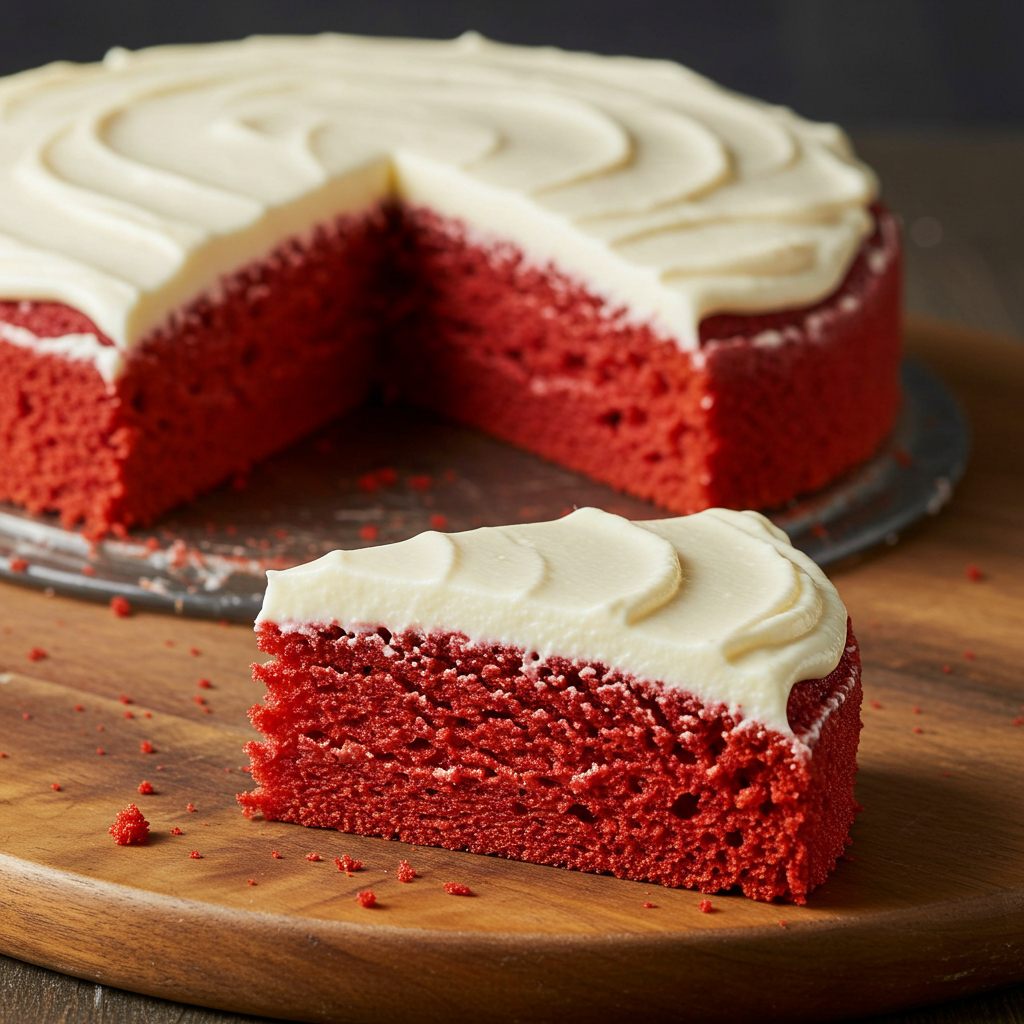
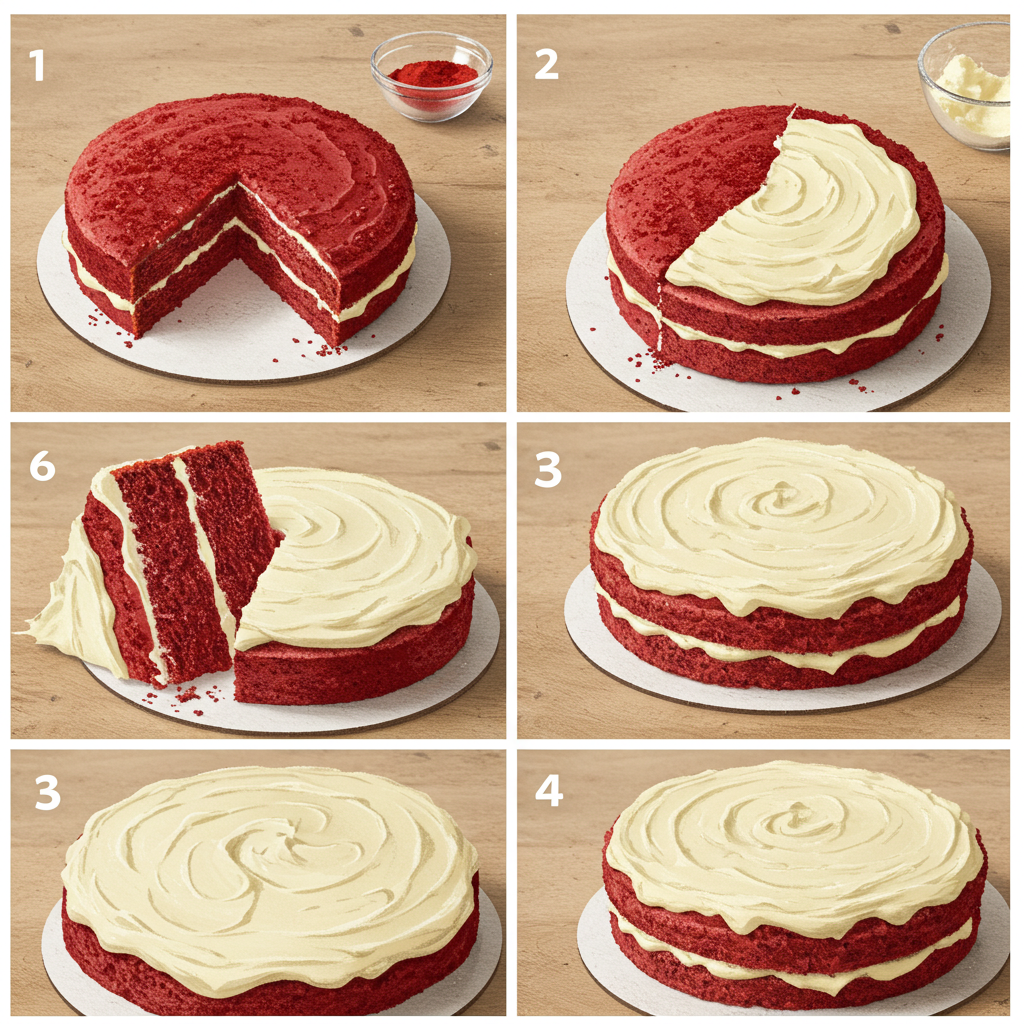
Assembling Your Delicious Redvelvet Cake
Okay, cakes are cool, frosting is ready. Time for the grand finale:
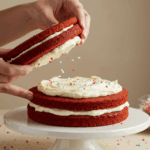
- Place one cake layer on your fanciest serving plate.
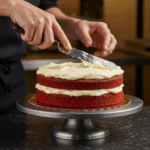
- Slather on a generous layer of that cream cheese frosting. Don’t be shy!
- Top with the second cake layer.
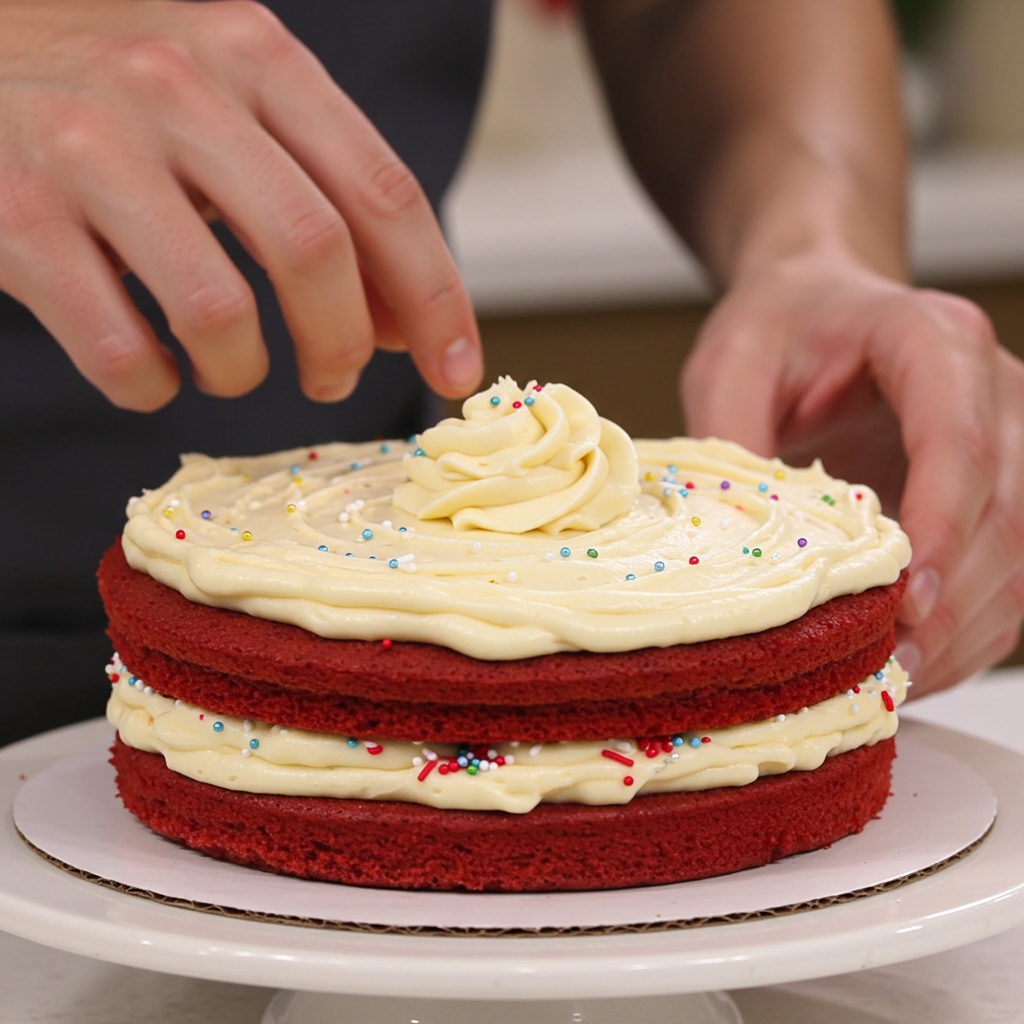
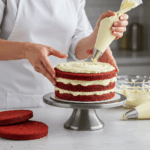
- Frost the entire cake with the remaining frosting. Make it pretty!
- Feeling fancy? Garnish with red velvet cake crumbs, chopped nuts, or fresh berries. Go wild!
Troubleshooting Common Red Velvet Cake Issues
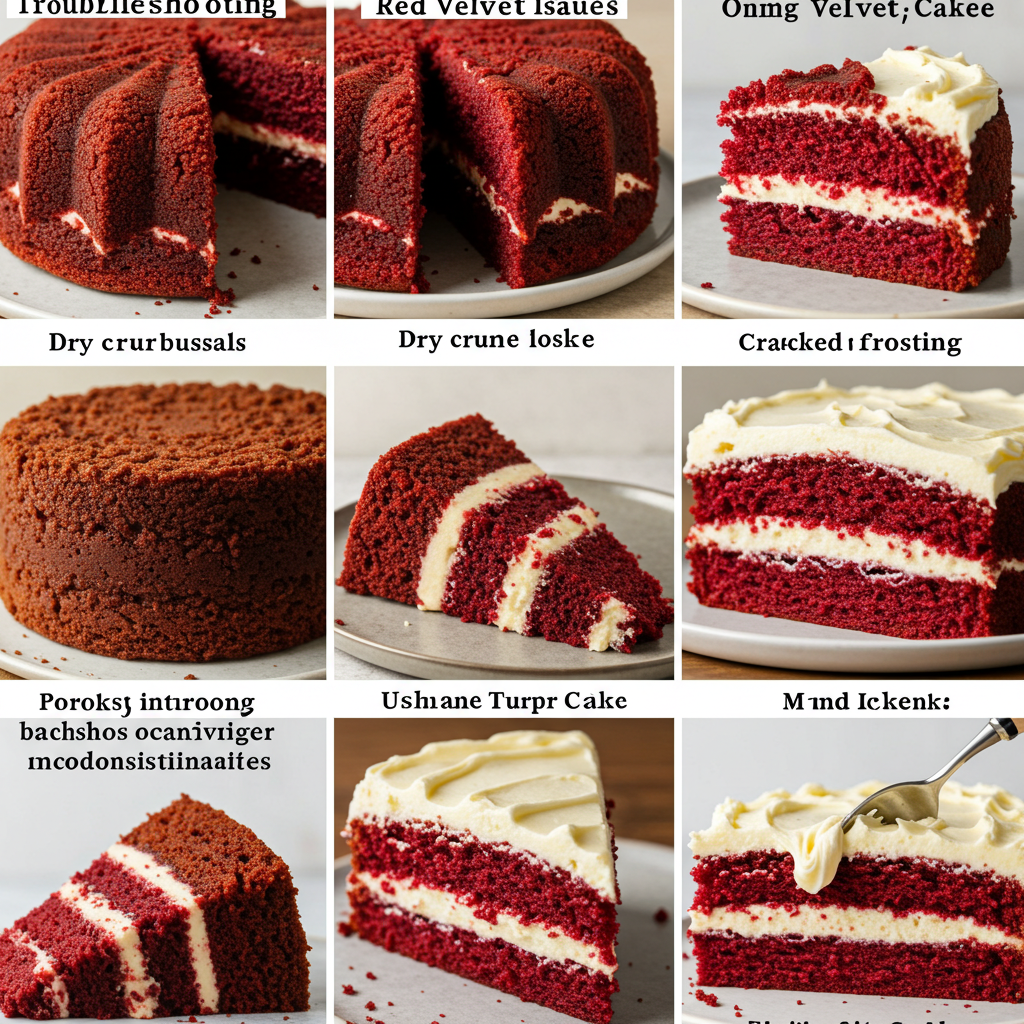
Even pros mess up sometimes. So, what happens when things go wrong? Here’s how to fix it:
- Dry cake? You probably overbaked it. Start checking for doneness a few minutes early next time. Also, don’t overmix the batter.
- Dense cake? Overmixing again! Too much gluten development. Measure your flour carefully and mix until just combined.
- Frosting too thin? More powdered sugar, a tablespoon at a time, until you get the right thickness.
- Lumpy frosting? Those ingredients weren’t soft enough. Make sure that cream cheese and butter are at room temp before you start beating.
Creative Variations on the Classic Recipe


The classic is amazing, but why not get a little wild? Here are some ideas to spice things up:
- Red Velvet Cupcakes: Bake that batter in cupcake liners. Perfect for parties!
- Red Velvet Cheesecake: Swirl that cake batter with a cheesecake filling. Decadence alert!
- Red Velvet Cookies: Chewy, red velvet goodness in cookie form.
- Chocolate Red Velvet Cake: Add some melted dark chocolate to the batter for an even richer chocolate flavor.
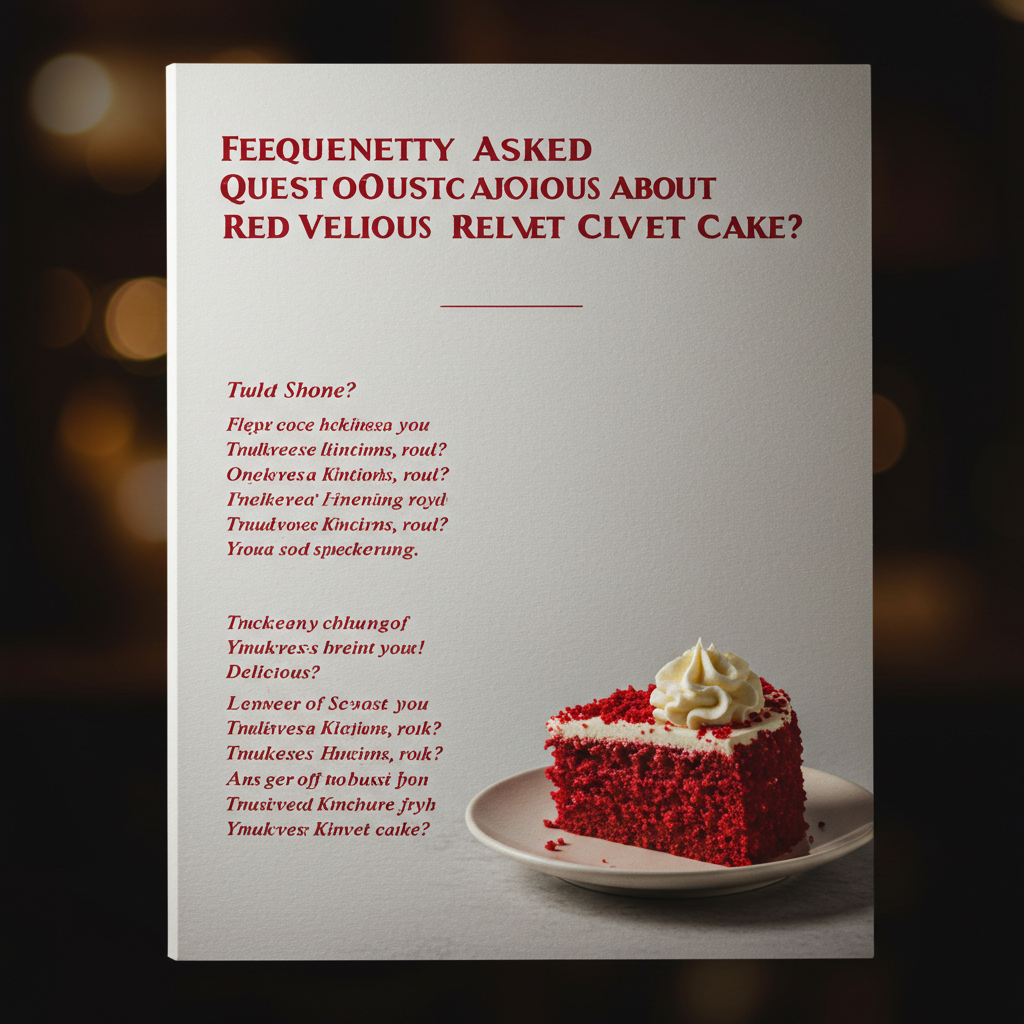
Frequently Asked Questions About Delicious Redvelvet Cake
Can I use regular milk instead of buttermilk?
Buttermilk is best, but if you’re in a pinch, mix regular milk with a tablespoon of lemon juice or white vinegar. Let it sit for 5 minutes before using.
Can I make red velvet cake without food coloring?
Sure, you can try to use beet juice powder as a natural alternative, though it might change the flavor and color a bit.
How do I store red velvet cake?
Keep leftover cake in an airtight container in the fridge for up to 3 days. Let it warm up a bit before serving for the best taste and texture.
There you have it! Go forth and bake! Wow your friends, impress your family, and, most importantly, enjoy every single delicious bite!
“`